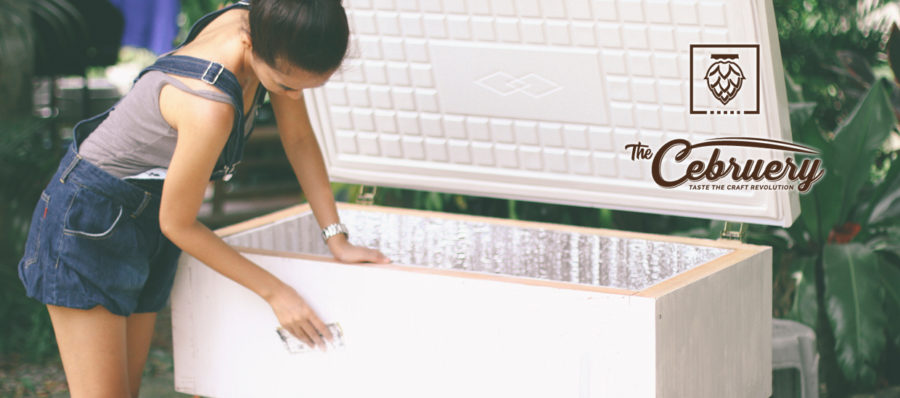
When I was put on Keezer design duty, I knew exactly how I wanted it to look like. I have been a long-time fan of Restoration Hardware and everything with a wood restoration finish. A few Google researches and I was finally able to get a much clearer view on what to do and how to get the look on our own – because we’re hands on like that, heh.
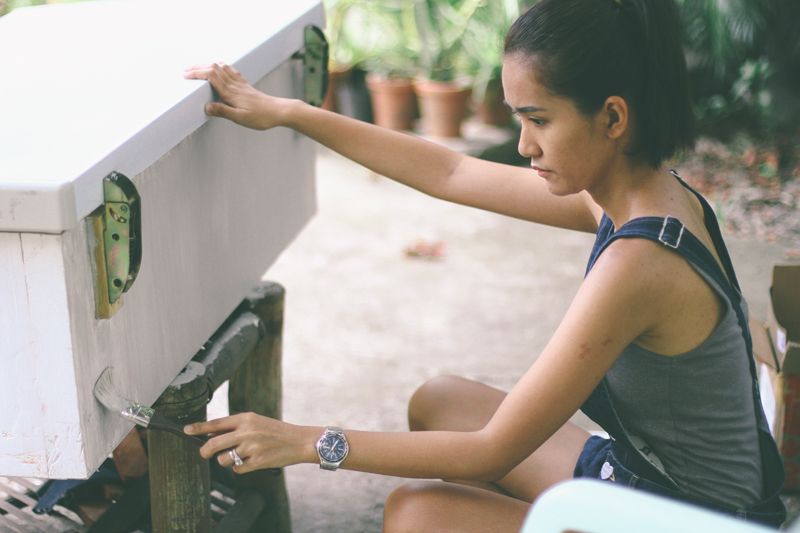
A “keezer” is a portmanteau of “keg” and “freezer,” which pretty much tells you exactly what it is – a chest freezer that’s been converted in to a draught system. To avoid drilling holes into the freezer itself and potentially damaging the condensation coils, we had this top made out of Mahogany wood, where we will be installing the tap handles. Also, it gives your keezer a lot more space for kegs!
As a base color for the keezer top we chose the color white, since we were ultimately aiming for that rustic dove grey look. I painted haphazardly to make sure that parts of the wood still showed, and at the same time making sure that I painted with the grain. It’s best to do two coats of white and let it dry for at least 12 hours. Now don’t be impatient, I learned my lesson the hard way, by slapping the grey into the still wet white the color of the mahogany bled right through and I ended up with yellowish blotches that I had to re-paint. Better wait than sorry!
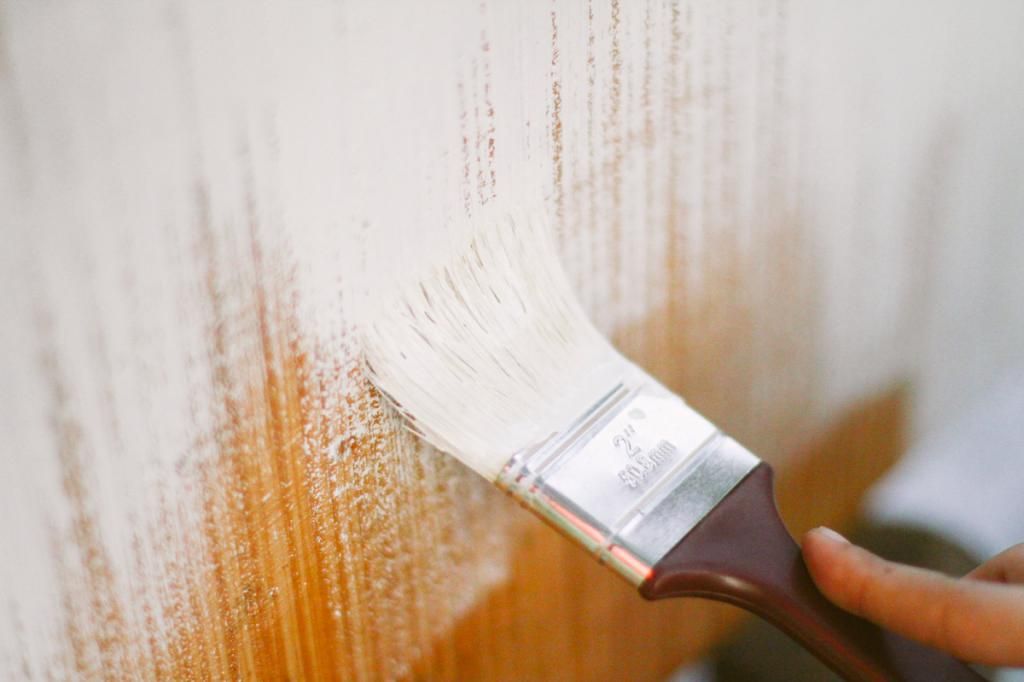
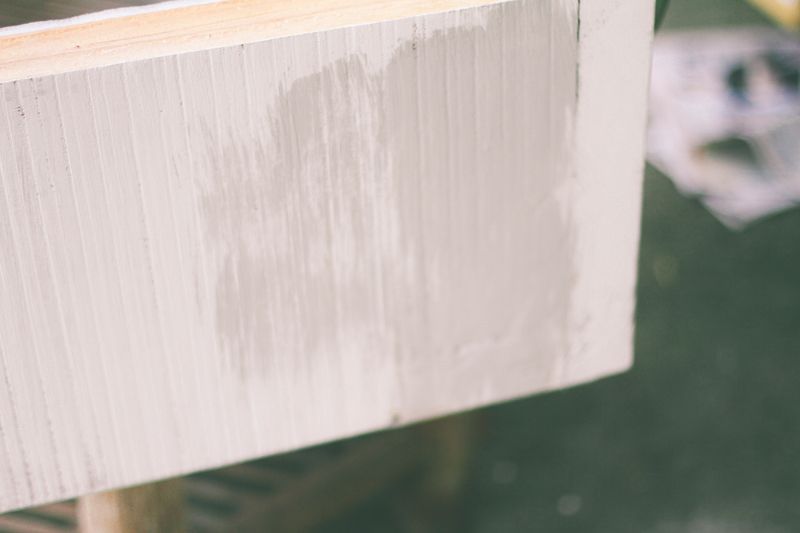
After waiting a full 18 hours for the first coat to dry, I sanded the white coat using a 60 grit sand paper (an 80 grit will do just fine) to give it that extra distressed look, and then I proceeded to do some dry brushing. It’s a technique used to add distressed patina to a piece of wood. You do this by lightly dipping the ends of your brush into the paint (for the second coating we used a medium grey color), and then wipe it with a rag until your brush is dry. This method aims to make it look like the old paint is showing through the newer coat. It doesn’t look much yet in this photo, but I promise it looked tons better once I was through with it. Patience is a virtue, ha!
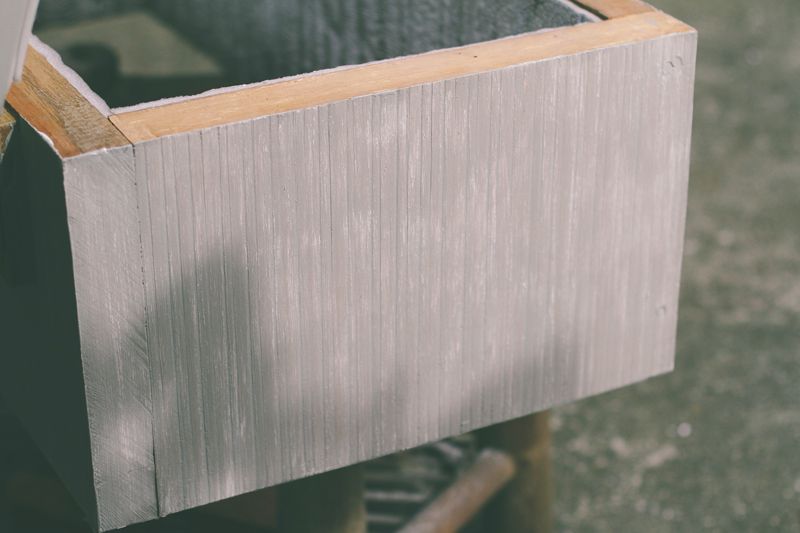
After waiting for the dry brushed grey to dry, I sanded it off with a 120 grit sand paper, and behold the final look. Not bad for a first timer, I guess, ha! There’s still a lot more room for improvement, specially with the dry brushing – it takes a whole lot of patience, then again, brewing beer takes a lot of patience too!
We hope you guys enjoyed reading about our little DIY keezer project and hopefully you can share with us your DIY beer projects as well!

